Deploy a docker container using container instance from the Azure portal
- Resource group: Create new > ContainerRG
- Container name: "securedockercontainer"
- Image source: Docker Hub or Other Registry , Image Type: Public
- Docker Hub Image: glennc/fancypants:latest
- OS Type: Linux , 1vCPU, 1.5 GBs
This image is created by SCOTT HANSELMAN and Glenn C. Who Created .NET WebApp and put it as Public Docker Hub registry here which can be used by Developers to Learn and Test Case purposes. Thanks Scott. All Credits to you.
INFO: Docker HUB is a service provided by Docker for finding and sharing container images with your team. It is the world’s largest repository of container images with an array of content sources including container community developers, open source projects and independent software vendors (ISV) building and distributing their code in containers.
- First, On Azure Portal > Search Container Instance > Create
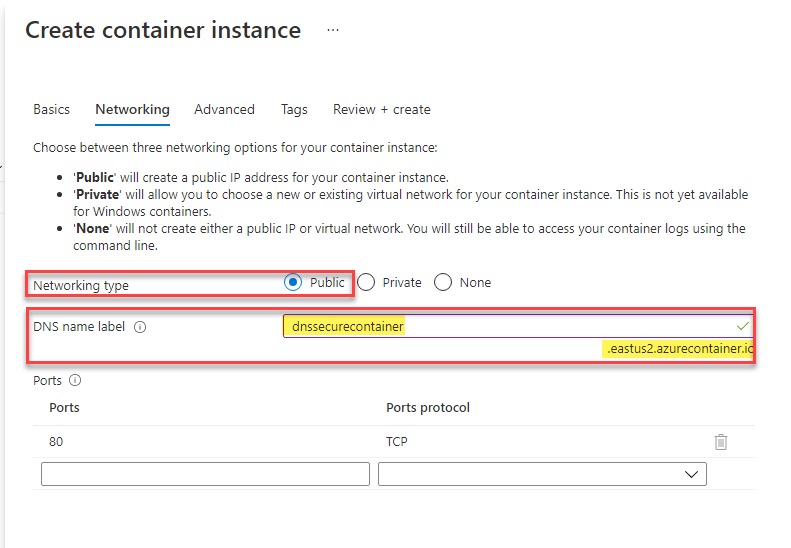
Fill out required fields notated with rectangle boxes.

Next is Networking Type which will be Public ('Public' will create a public IP address for your container instance.) And also you put "DNS Label" which will be your FQDN Endpoint for your WebApp.
- Next is Advanced where you select "Restart Policy" (Determines when your container should restart. You can choose to always restart the container regardless of how it stopped, to only restart if it failed to exit successfully or to never restart.)
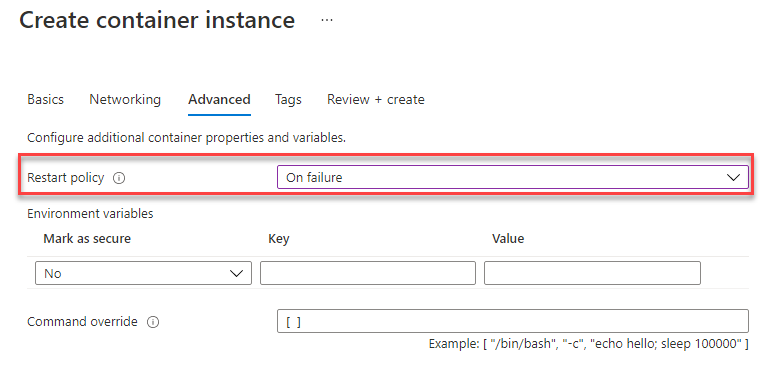
- Next Tags and "Review + Create" > Create
Once Created > Go to Resources
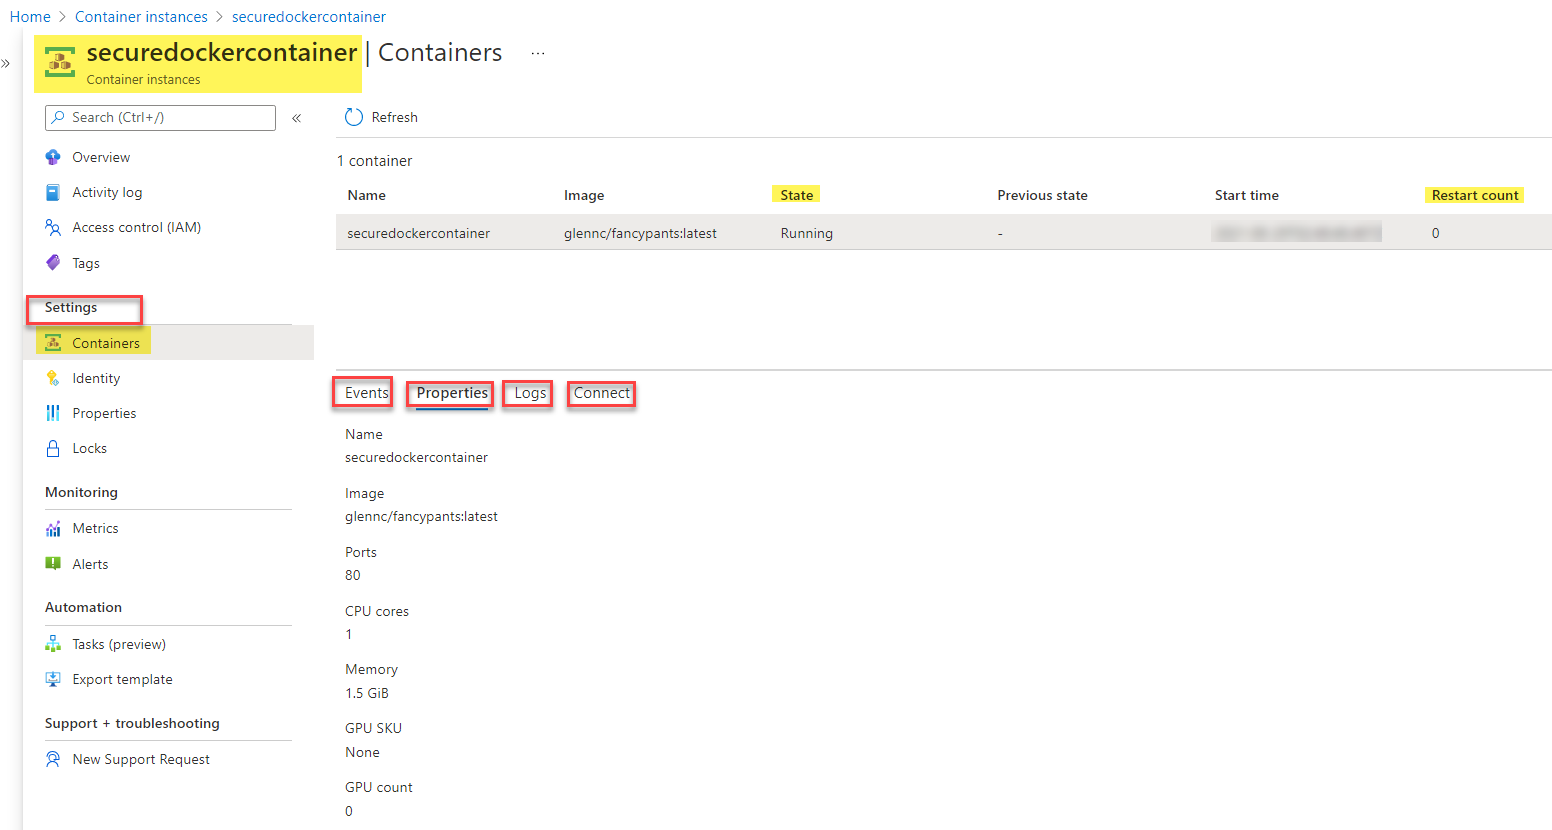
All the Important Tabs Highlighted or Boxed. Check it all out.
Note: Container is in Running State.
Notice it gives us an overview of Resources Monitored of Container's CPU, Memory, and Network right there.
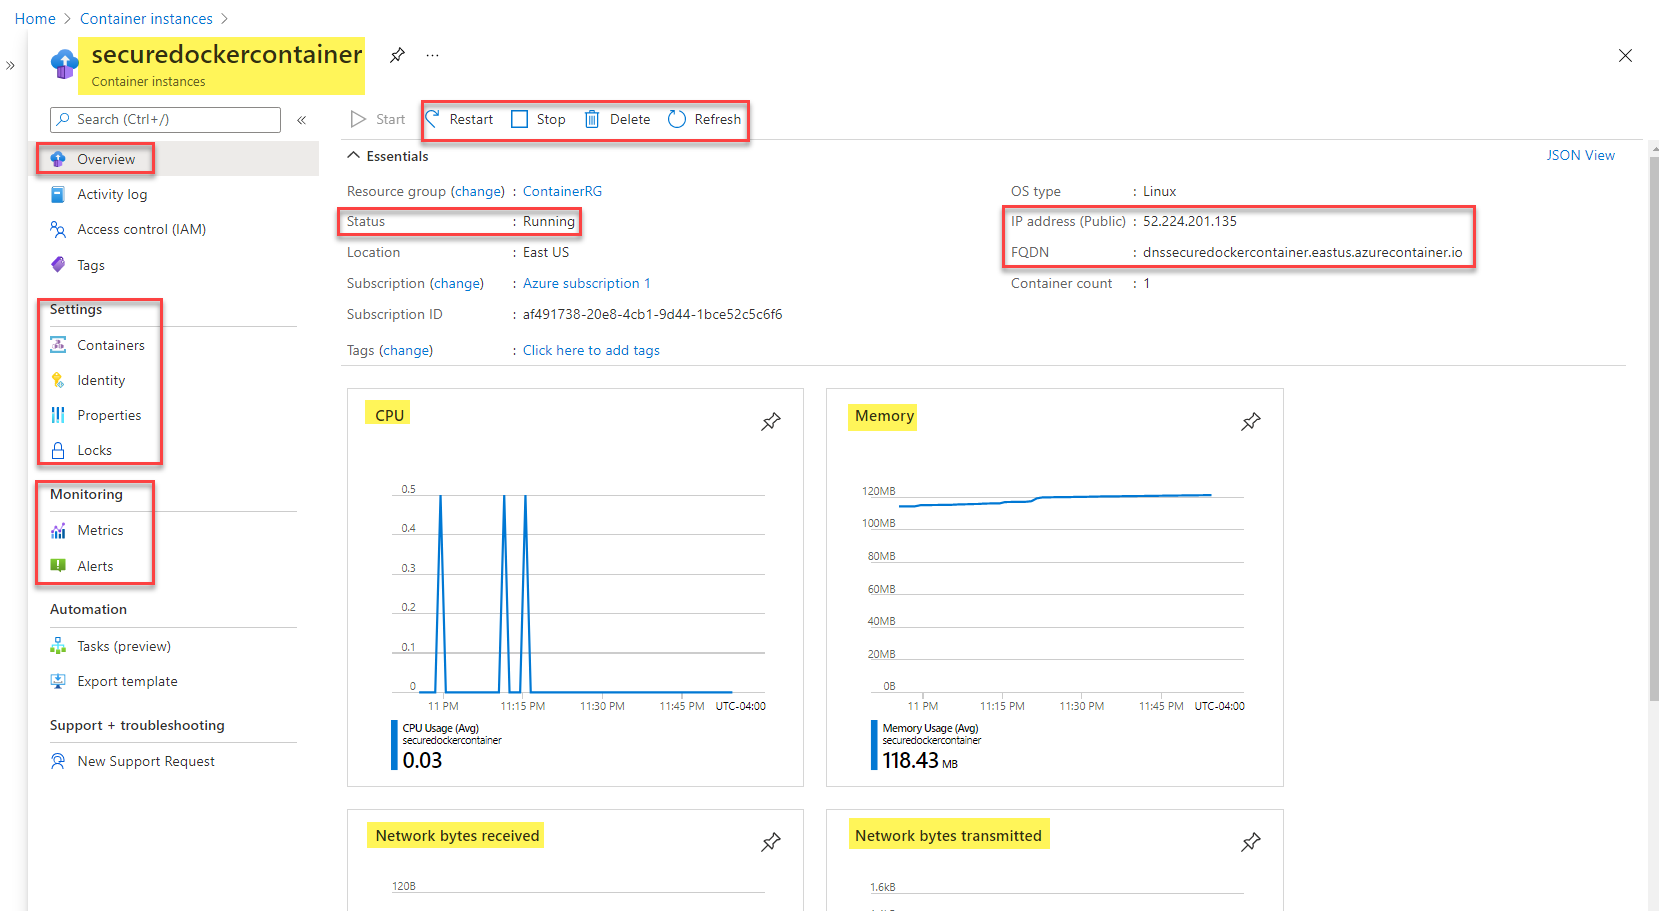
There are Public IP Address and FQDN given which can be used to access your Container Deployed .NET WebAPP.
Let's try to Copy IP Addresse and Open it on a Browser and then Copy FQDN (Fully Qualified Domain Name) for our Containerized app.
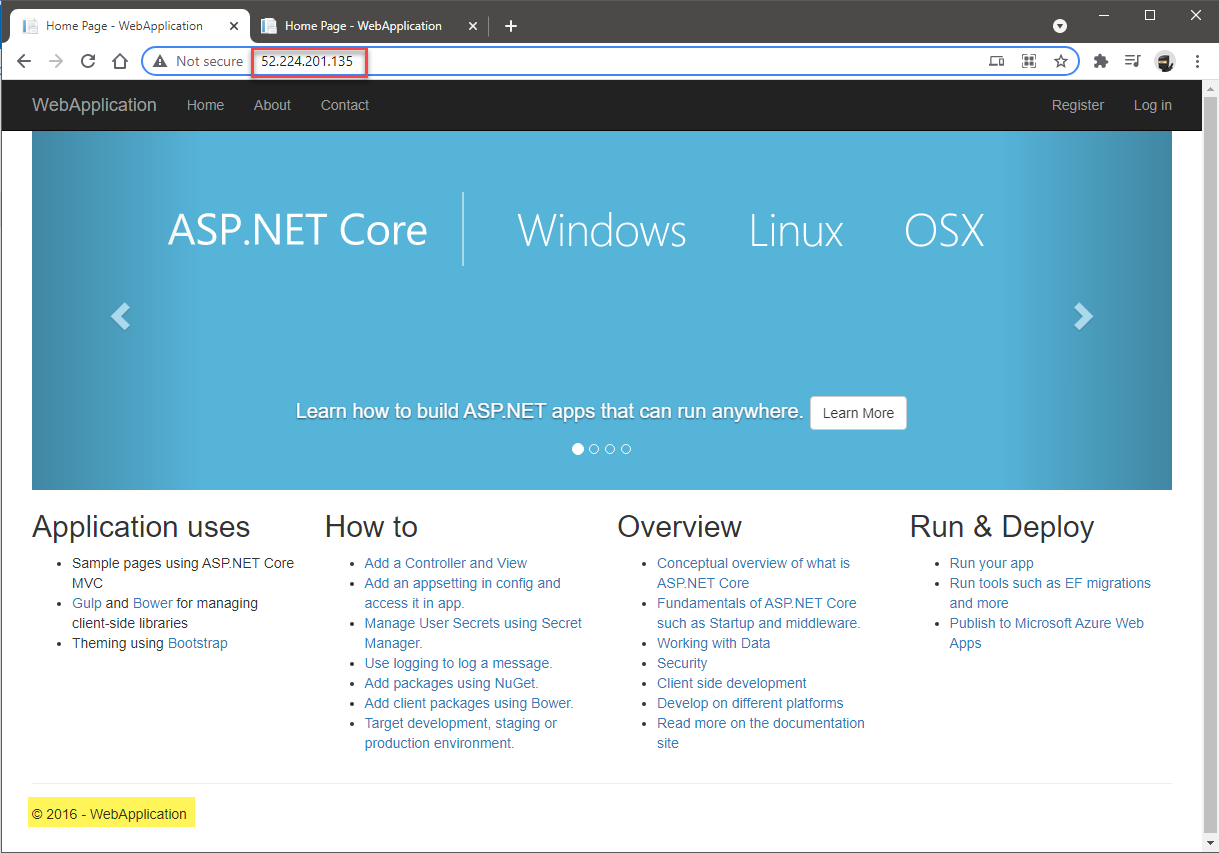
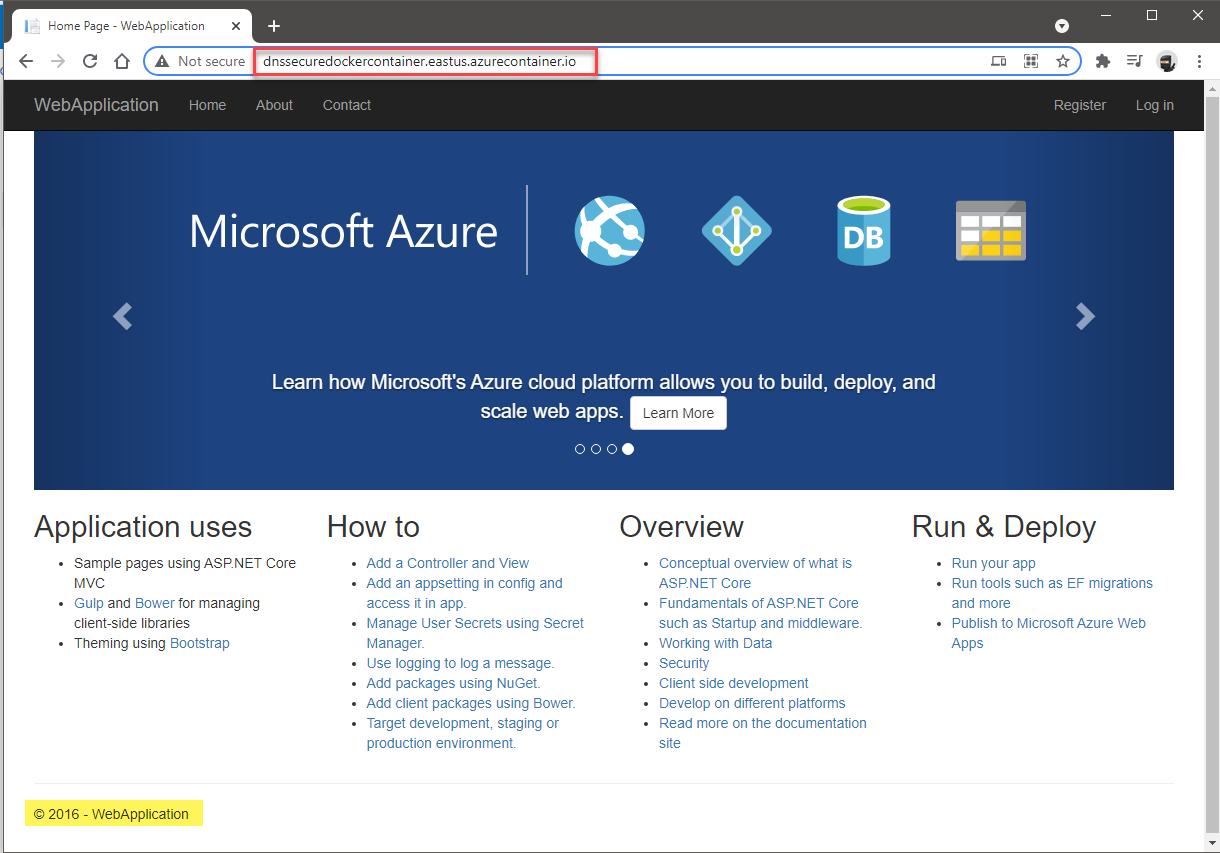
- Both will open our .Net WebApp running from "securedockercontainer" deployed using Azure Container Instance.
EasyPeezy !! Right ?
- On Azure Portal Container Instance Menu, You can Monitor Resources: CPU, Memory, Network from Overview Pan.
And View Events, Logs and Connect from Azure Container Instance Tabs> Settings > Containers.
- Now that we have an .net Web APP running in Docker Container deployed using Azure Container Instance, We will discuss how we can Secure it in one of the upcoming Blogs.
Hope you like this blog and Thank you for the read. I appreciate your time. Let me know if you have any questions or queries during following along with the steps.
Follow for more Azure and AWS Content.
Regards,
Jineshkumar Patel