

How to host your static website using Apache2 on a Linux machine deployed on Azure.
#linux #apache2 #apache #Azure #WebServer


In this quick tutorial, We are going to learn Azure Linux VM Configuration, Few Linux VM Commands, and Apache Web Server Install and display our own Webpage on a Public IP address from anywhere.
Deployment Components :
- Linux VM : Ubuntu Server 20.04 LTS
- Compute Resources on : Azure
- Web Server : Apache2
- Web Front End : HTML
Deployment Steps
1st Step: Deploy Azure Compute Resource : Linux VM (Ubuntu 20.04)
-> Login to Azure Portal > Create a "Compute" Resource
-> Select Ubuntu Server 20.04 LTS > Create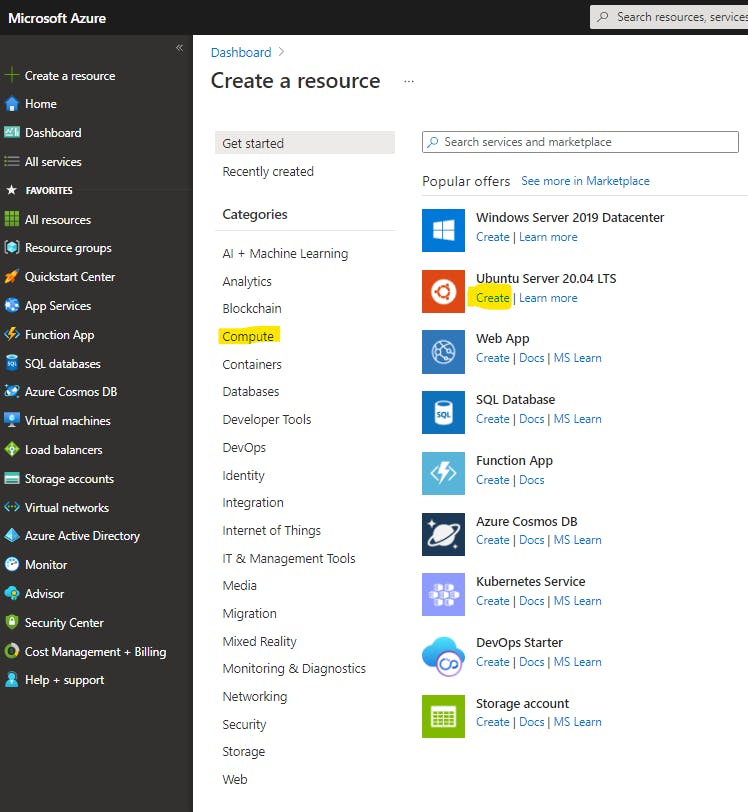
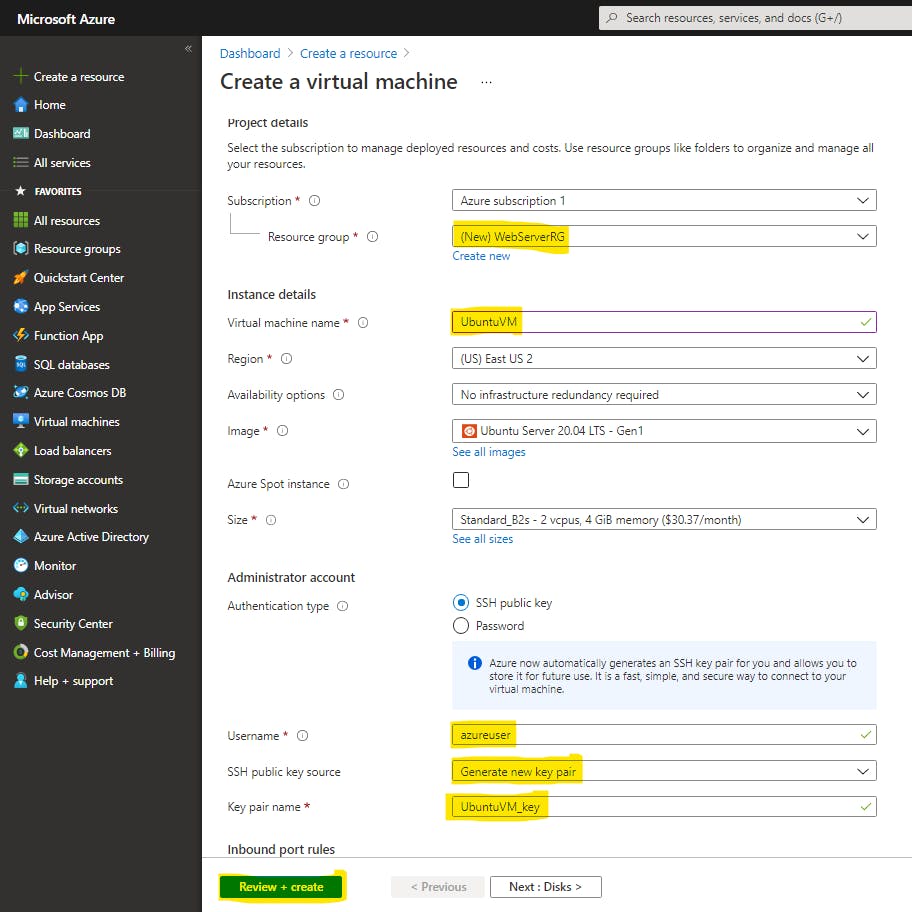
-> Make sure you have selected
Username: azureuser and
SSH Key Pair Name: UbuntuVM_key
Click Review + Create
-> Download Private Key and Create Resource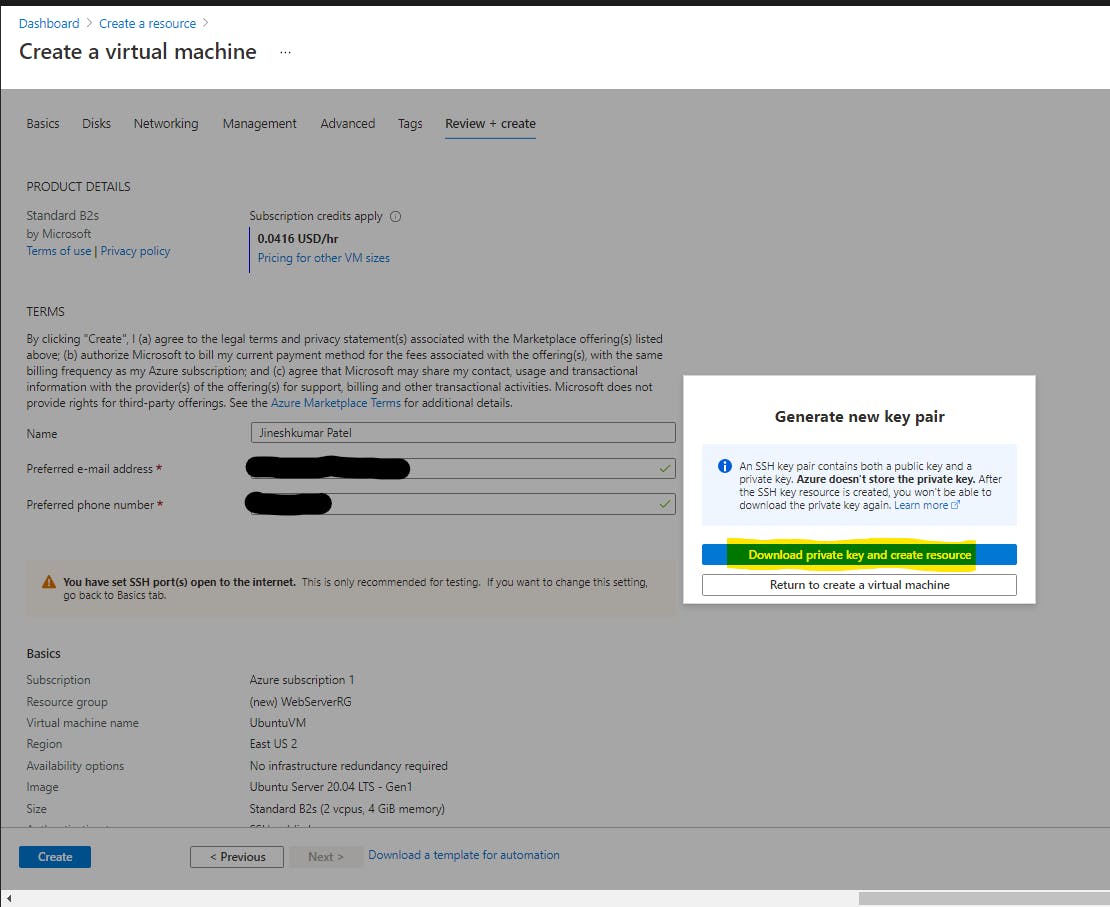
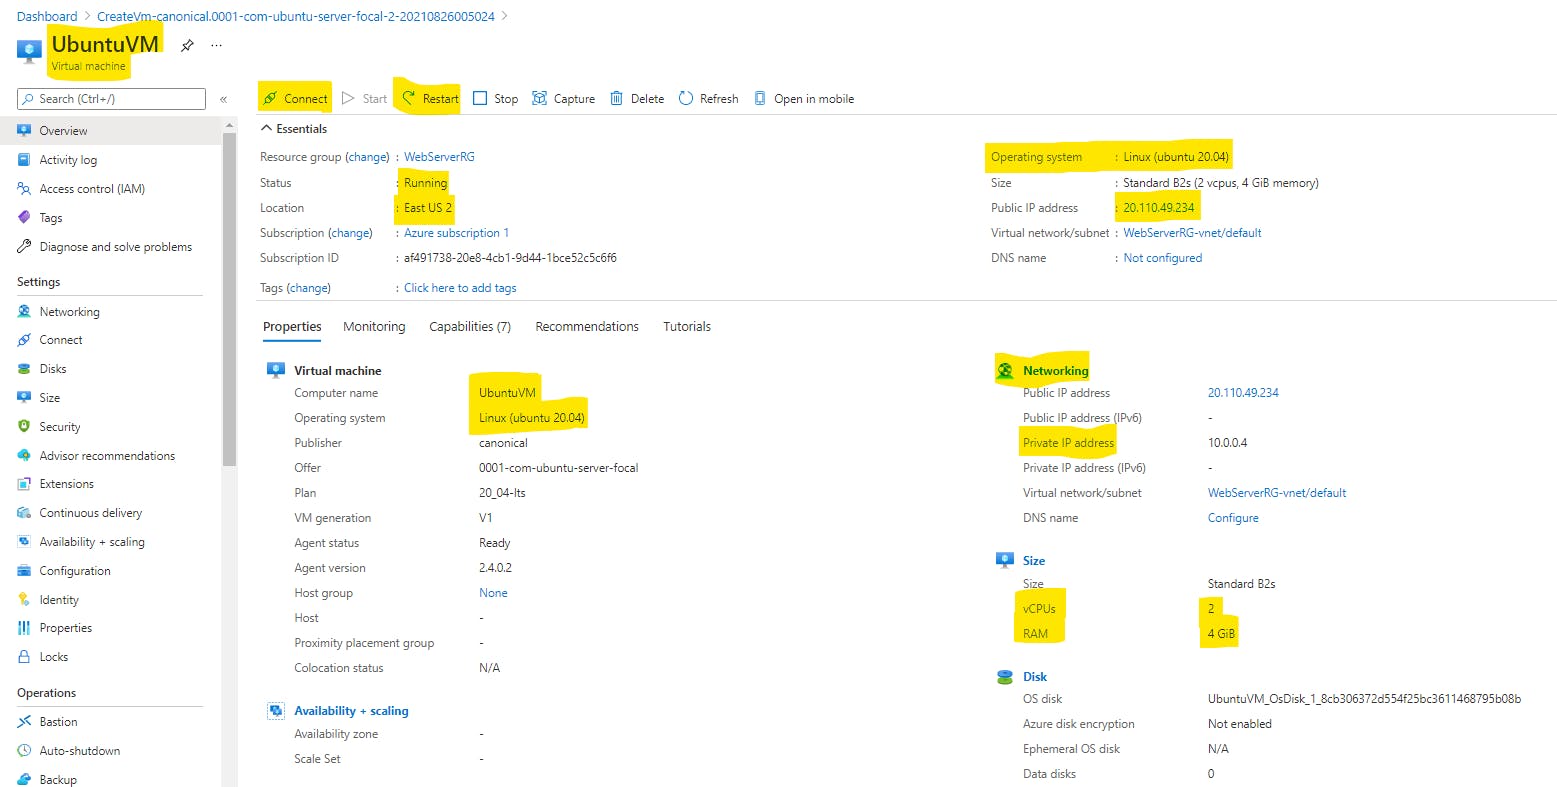
-> Finally, Azure side deployment is finished. Linux VM : "UbuntuVM" shows Running and provides a Public IP Address. It has configured and deployed all necessary components (Disk, Network I/F, NSG, Public/Private IP, etc) to run our Linux VM on Azure.
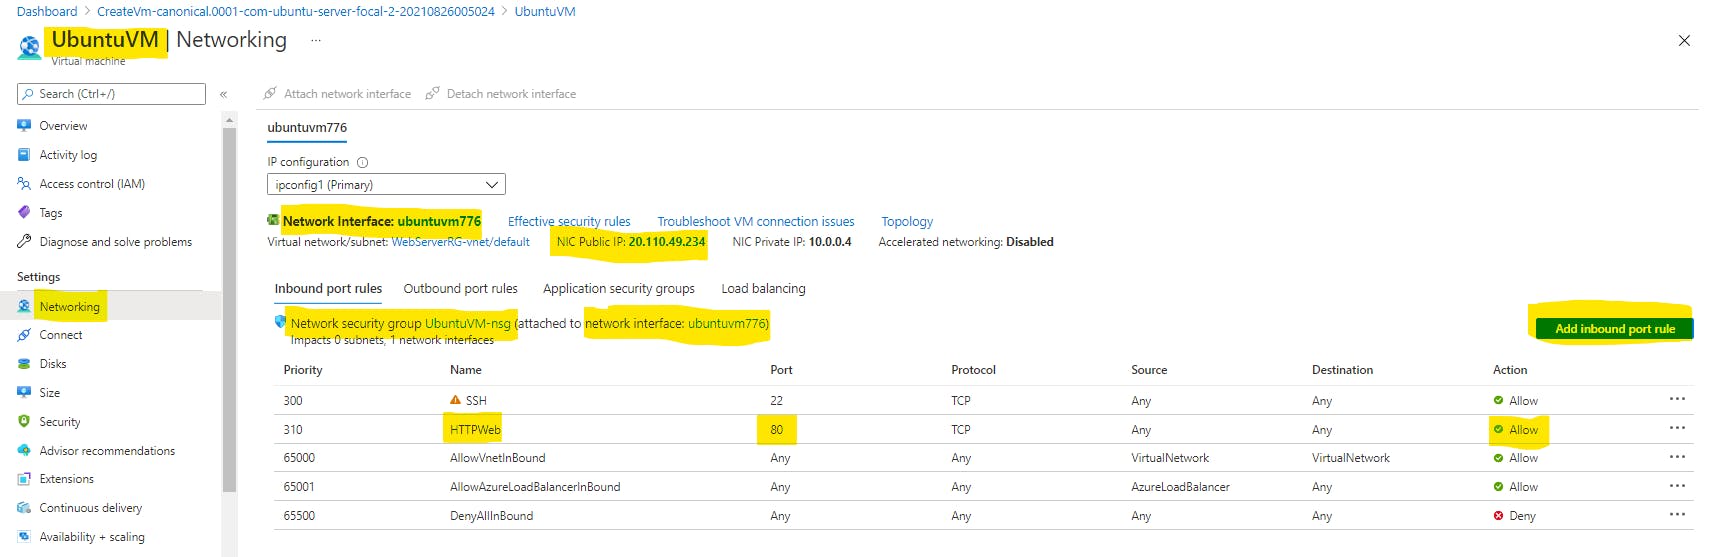
-> Using Putty Configuration and Port 22 for SSH (By default it is open. You can restrict it to only allow your Private IP to access port 22 using Network security group: "UbuntuVM-nsg"
-> While we are on the topic, We have to allow HTTP port 80 for Web Traffic as an Inbound Port rule in the Network Security Group.
-> Port 80 for Web and Port 22 for SSH is Open
(Note : SSH is exposed to the internet and can be accessed from anywhere. For security best practices, it is NOT a recommended Nor valid practice. But for this Testing purposes, I have allowed it)
->The Private Key we downloaded is important to Login into UbuntuVM (LinuxVM) we have created.
->Please follow below brief article on
Convert .Pem to .Ppk File Using PuTTYgen
Connect Linux VM using PuTTY
2nd Step : Login to Ubuntu , Install Apache2
-> Once the Putty PPK file is loaded to SSH into your Ubuntu VM
It will look like this.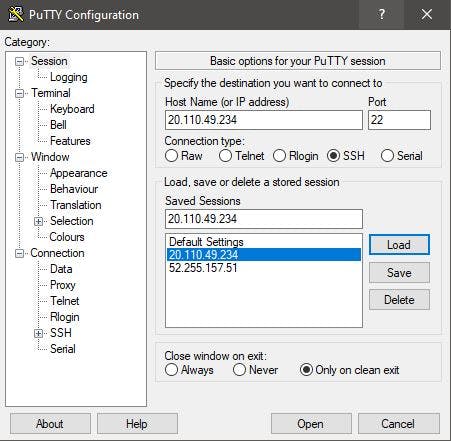 -> I have used the Public IP address of UbuntuVM and .ppk file created using Putty Gen.
-> Opening it will allow us to log in to our Ubuntu Linux Server. As per,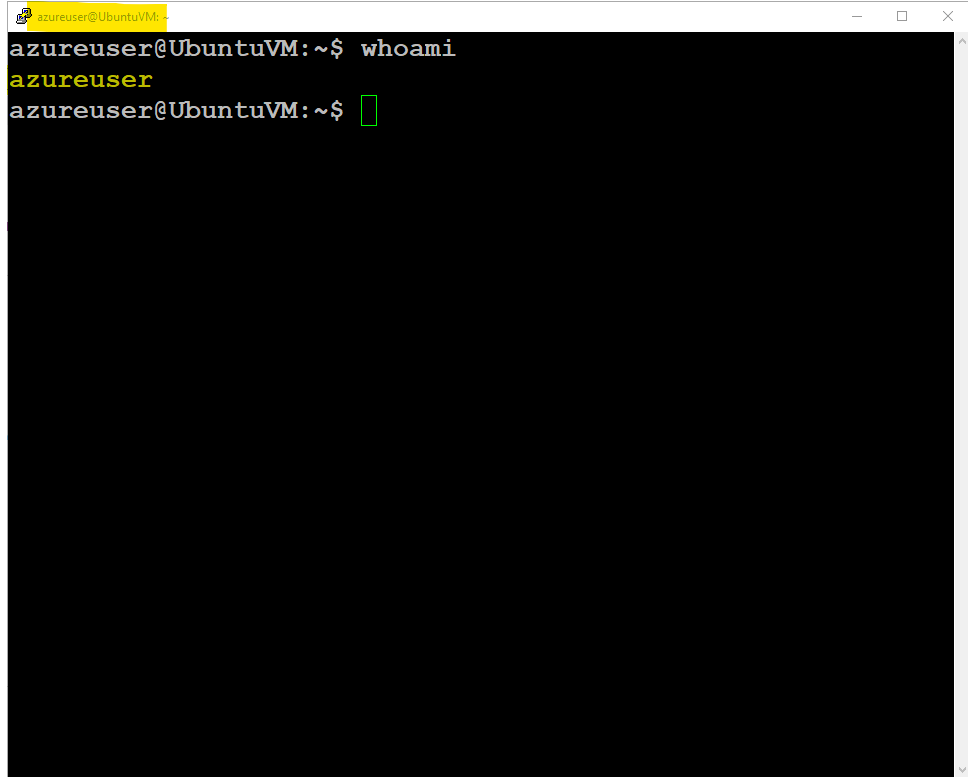
3rd Step : Install Apache2 to make it a WebServer
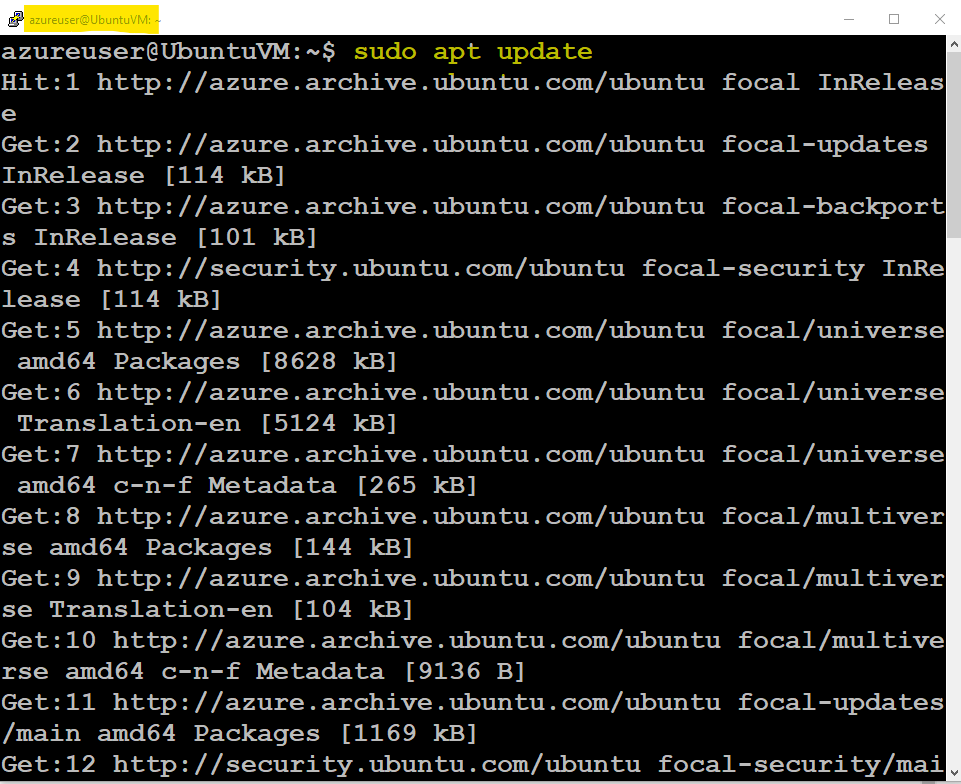
-> Run below Command to update package
azureuser@UbuntuVM:~$ sudo apt update
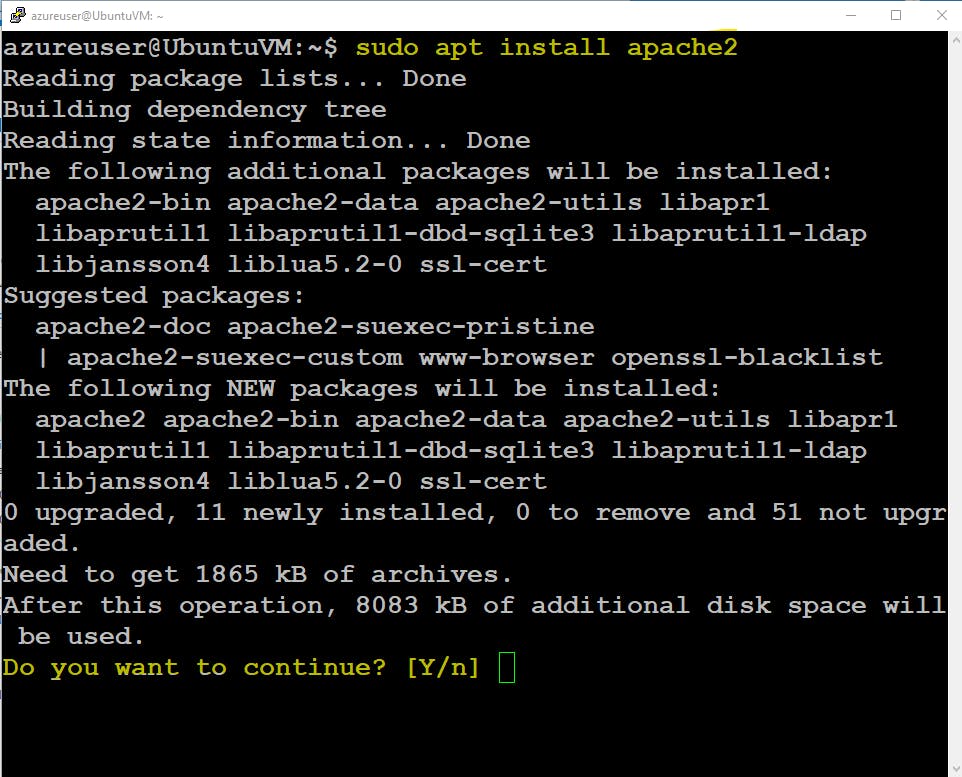
-> Install Appache2 by Running below Command and Press "Y" to Continue...
azureuser@UbuntuVM:~$ sudo apt install apache2
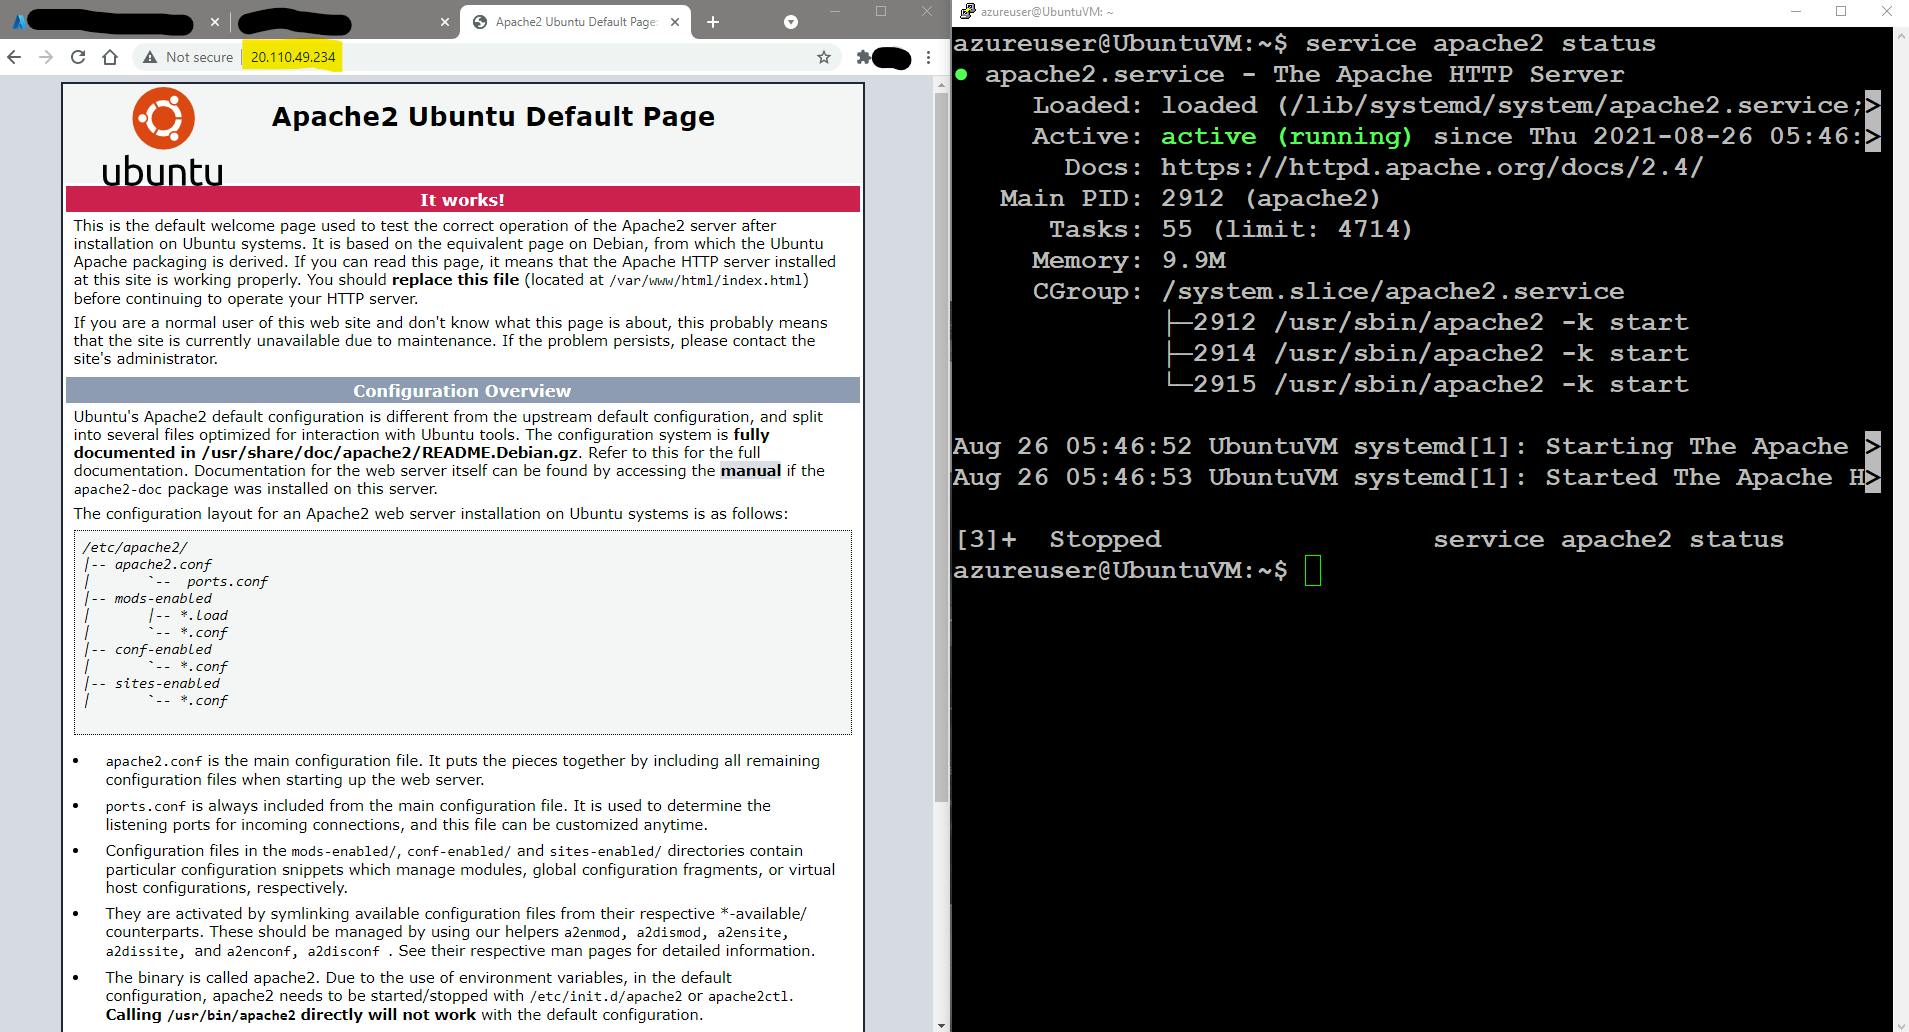
 -> Once installed. Check its active (running) status by running,
azureuser@UbuntuVM:~$ service apache2 status
-> After verifying APACHE2 Web Server is running. Test the WebPage by going into your Browser and Paste your Ubuntu VM's Public IP Address.
 We successfully deployed our WebServer. Now its time to make it really ours. By changing the Front WebPage Index.html.
Currently, Public IP is showing Default Apache2 Ubuntu Default Page.
4th Step: Let's find the Index.html file and do some HTML Editing.
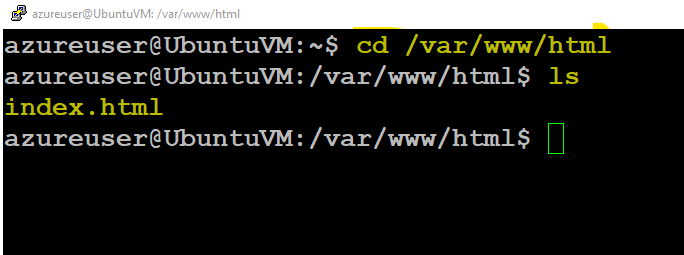
-> use cd to go to location /var/www/html
azureuser@UbuntuVM:~$ cd /var/www/html
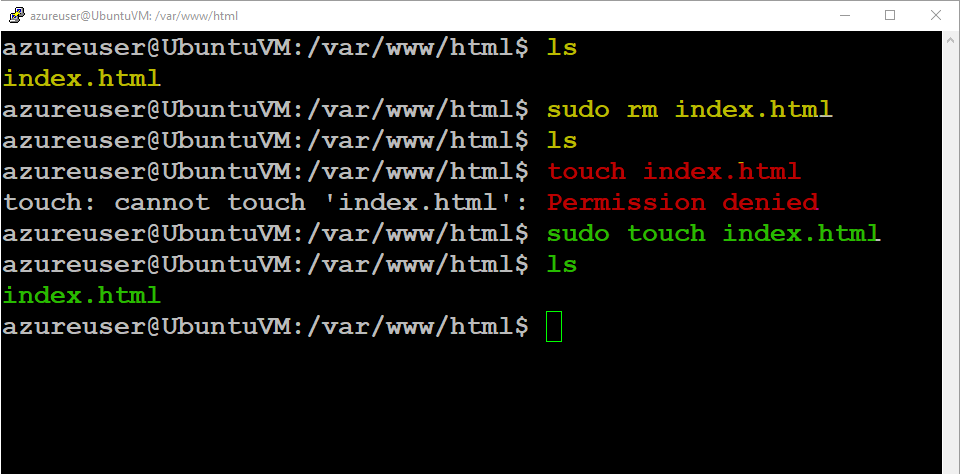
-> ls command there will list the files inside that html directory. In this case it showed us index.html file. As per,
Important Process:
-> 1. Remove existing index.html file by running sudo rm index.html
-> 2. Create new index.html file by running sudo touch index.html
-> Edit the Index.html file by opening the file in vi editor using sudo
azureuser@UbuntuVM:/var/www/html$ sudo vi index.html
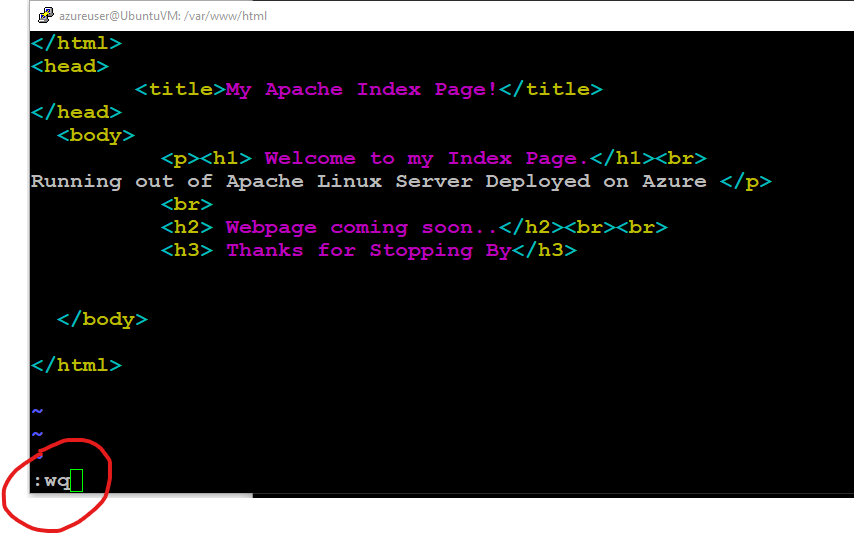
-> vi file editor will open. where you can paste your own HTML Code or follow mine (Copy below) whichever you want to make your Display Page (index.html) for your Web Server.
</html>
<head>
        <title>My Apache Index Page!</title>
</head>
  <body>
          <p><h1> Welcome to my Index Page.</h1><br>
Running out of Apache Linux Server Deployed on Azure </p>
          <br>
          <h2> Webpage coming soon..</h2><br><br>
          <h3> Thanks for Stopping By</h3>
</body>
</html>
Important : vi editor is tricky for first-time user. So follow below will help,
- sudo vi filename.xyz will get you in.
- key "i" will allow you to insert meaning allow to edit
- once edited , to get out of insert mode, press "esc" escape
- then to go out of vi editor and save the file press ":wq" + enter.
- You file you edited is saved successfully. Thats it.
I know this HTML is basic and I do not even try hard. But that's not the point of this blog. Index.html is ready and customized as per our Web Front end (under /var/www/html/index.html)
We are almost Done.
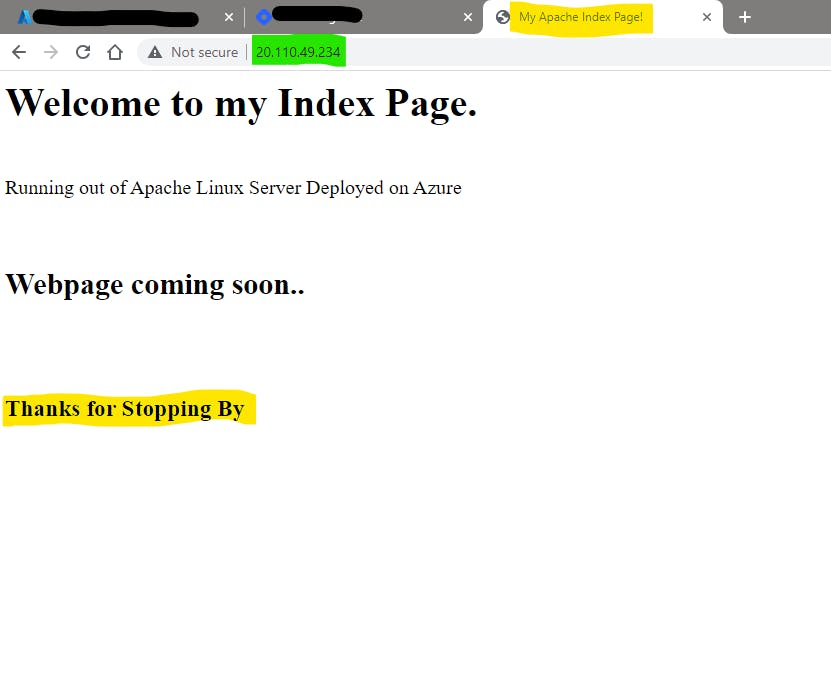
Open the Public IP address of your VM. Now it's a WebServer IP.
You will see your Edited HTML on a WebPage on any browser.Final Step, Display our Webpage on Public IP Address.
Hope you enjoyed the blog and follow along to learn something from it. Feel free to Let me know if you have any questions or improvements I can provide.
I hope you like this Blog about "Apache (Ubuntu Linux) Web Server deployed on Azure".
Thanks for your time. Follow for more Awesome Azure and AWS Content.
Regards,
Jineshkumar Patel